Create a Perfect Brushed Metal Texture From Scratch
Learn how to create a realistic brushed metal texture. Our guide covers Photoshop, Blender, and AI methods for designers and 3D artists.
November 13, 2025•14 min read
Discover how to craft beautiful DIY gift cards envelopes. Our guide offers creative ideas and simple tips to make your gift feel extra special.
Instastock Team
November 14, 2025 • 10 min read
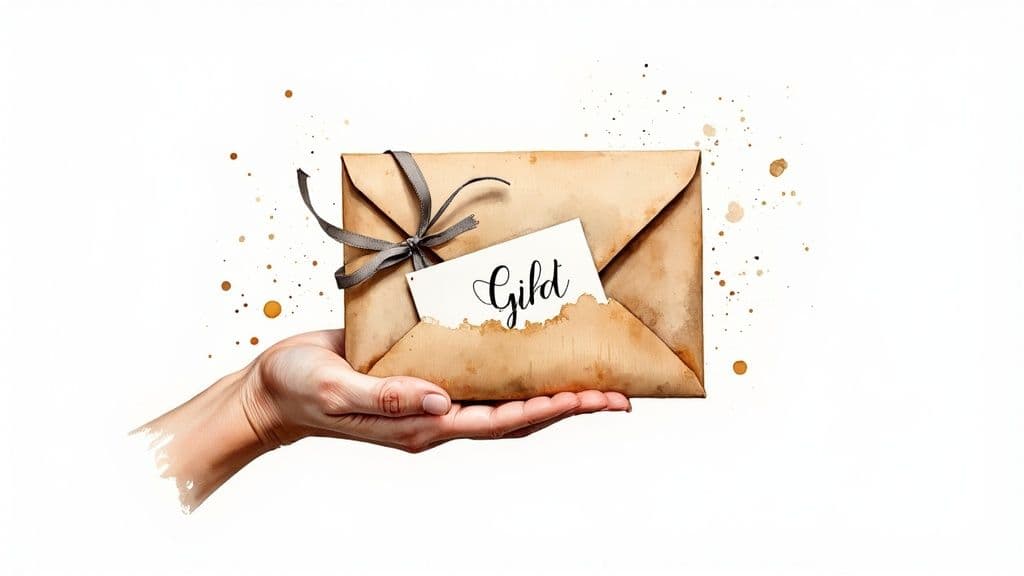
Let's be honest, gift cards are a lifesaver. They're practical, easy, and everyone's happy. But sometimes, they can feel a little… impersonal. That’s where a handmade envelope comes in. It’s a simple touch that transforms a convenient present into something truly special and from the heart.
Taking a few minutes to create something by hand shows you've put real thought and effort into your gift. It's not just about the paper and glue; it’s about the intention behind it. A custom envelope immediately elevates the entire experience, turning that little piece of plastic into a genuinely thoughtful present.
This personal touch is more important than ever. Gift cards are incredibly popular in the UK, with the market expected to be worth nearly £9 billion by 2025. You can read more about the trends in this detailed report on Businesswire.com. With so many gift cards changing hands, a beautiful handmade envelope ensures yours is the one they'll remember.
There's just something special about receiving a handmade gift. It creates an instant connection, showing a level of care and consideration that you just can't get from something off the shelf.
This is the very essence of what makes a gift meaningful. As this guide on unique handcrafted gift ideas points out, the time and creativity poured into a handmade item is what makes it so valuable. The same goes for the envelope holding your gift card.
A handmade envelope isn’t just packaging; it’s part of the gift itself. It tells a story of affection and creativity before the recipient even peeks inside.
The best part is that you can tailor your design to any occasion. Whether it's a birthday, a thank you, or 'just because', a custom envelope reflects the recipient's personality and your relationship with them, making the moment of giving so much more memorable.
Alright, ready to dive in and start making your own gift card envelopes? Let's get your workspace set up. The great thing is, you don’t need a fully-stocked craft room to create something really special—just a few basics will get you well on your way.

The heart and soul of any brilliant envelope is the paper itself. This is your first chance to inject some personality! I always suggest looking for a sturdy cardstock or some lovely patterned scrapbook paper that can handle a bit of folding and glueing. You can even get creative by upcycling old kraft mailers or colourful packaging from other products.
Now for the tools that do the heavy lifting: cutting and sticking. You'll definitely want a sharp pair of scissors or a craft knife to get those lovely, clean lines. When it comes to adhesives, my personal go-to is double-sided tape because it gives a really neat, invisible finish. That said, a good quality glue stick will also do the job perfectly well.
To get started, here are the absolute must-haves for your kit:
If you're gearing up for the festive season, checking out some must-have Christmas stationery items is a fantastic way to get inspired and find the perfect materials for your envelopes.
Okay, this is my favourite part—where you can really let your creativity shine! Adding a few decorative bits and bobs is what makes each envelope truly one-of-a-kind.
Remember, the goal isn't perfection; it's personality. A little washi tape or a hand-drawn doodle can add more charm than a perfectly machine-cut design ever could.
Think about playing with fun extras like colourful washi tape, unique stamps, or elegant ribbons. For a real touch of class, you could even try a classic wax seal. It’s these small additions that transform a simple paper envelope into a memorable part of the gift itself.
Right, this is where the fun really starts! Let's get hands-on and craft your first classic gift card envelope from scratch. Forget those overly complicated tutorials; I'm going to break this down into simple, straightforward steps, beginning with getting the measurements just right.

We're going to create an envelope designed to perfectly fit a standard UK gift card, so there's no guesswork involved. Think of this as a relaxed crafting session. By the end, you'll have the core skills to make your gift card envelopes look beautifully polished every single time.
First things first: the paper. A standard UK gift card measures roughly 85.6mm x 54mm. To create a snug and tidy envelope, you’ll need a rectangular piece of quality cardstock.
For a simple and elegant wrap-around style, I’ve found that starting with a piece of paper measuring 12cm x 18cm works perfectly. This size gives you ample room for neat flaps without wasting any precious paper.
Once you've cut your paper to size, it's time to mark your fold lines. This is a crucial step called scoring, and it's the secret behind those perfectly crisp edges you see on professional stationery. You don't need any fancy equipment for this; the back of a butter knife or even an empty ballpoint pen run along a ruler does the job wonderfully.
With your 12cm x 18cm paper laid out horizontally, you’ll need to make three score lines. These marks are going to create the bottom flap, the main body where the card sits, and the top flap that closes it all up.
Here's a quick table with the essential measurements to get you started.
Use these measurements as a starting point for your gift card envelopes. All dimensions are for a standard UK credit card-sized gift card (85.6mm x 54mm).
| Paper Size (Starting) | Score Line 1 (Bottom Flap) | Score Line 2 (Top Flap) |
|---|---|---|
| 12cm x 18cm | 4cm from bottom edge | 6.5cm from first score line |
These dimensions provide a snug fit, creating a professional-looking pocket for the card.
After you've scored the lines, gently fold along each one. See how easily the paper bends into a perfect, sharp crease? That's the magic of scoring.
For an extra professional touch, you can always visualise your final design by playing around with a digital template. In fact, experimenting with a greeting card mock up is a great way to plan your colours and embellishments before you even start cutting.
Pro Tip: To get an ultra-crisp fold, run your thumbnail or the smooth edge of a ruler firmly along the crease after folding. This technique, known as burnishing, flattens the paper fibres and creates a sharp, professional-looking edge that really makes all the difference.
Finally, fold the two small side flaps inward and apply a thin line of glue or some double-sided tape. Press the bottom flap up to seal the sides, creating the pocket. Pop your gift card inside, fold down the top flap, and you're all set
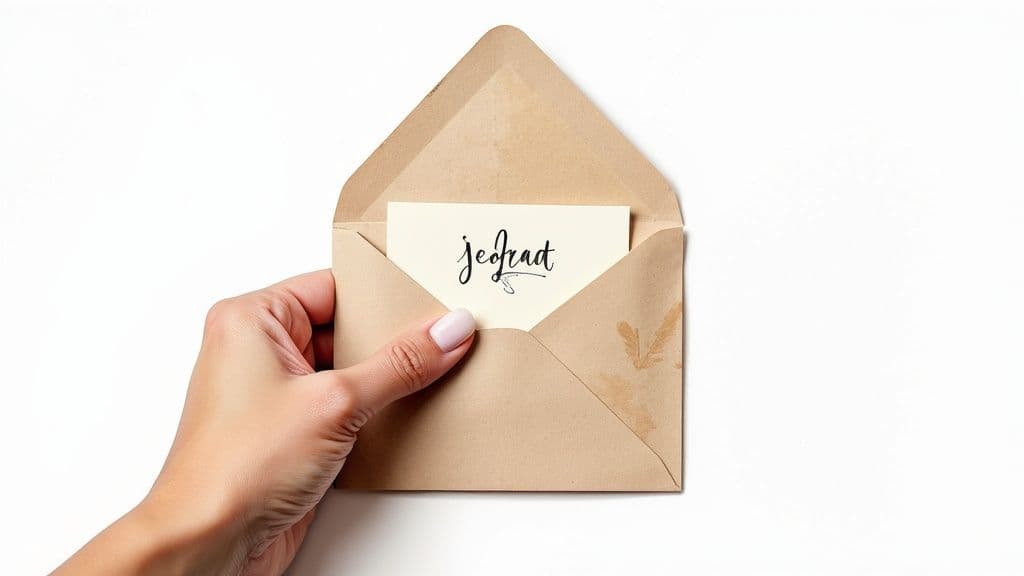
Right, you’ve got the basic shape of your envelope sorted. Now for the fun bit – making it look amazing! This is where you get to turn a simple piece of folded paper into something that feels special and really personal. It’s all about adding those little touches that show you’ve thought about the person you’re giving it to.
Even small changes can make a massive difference. Instead of just writing a name, why not try a bit of hand-lettering for an artistic feel? The right font can completely change the vibe. If you’re stuck for ideas, have a look at our guide on choosing the best fonts for posters – you’d be surprised how many of those tips work just as well for smaller projects like this.
Playing with different materials is a fantastic way to add a bit of depth and make your gift card envelopes lovely to touch. What sort of look are you going for? For something rustic and natural, you can’t go wrong with a simple kraft paper envelope tied up with a bit of twine. It’s a classic for a reason.
You can also whip up your own patterns easily. I’m a big fan of using rubber stamps for this. Pick a simple shape, like a leaf or a star, and just repeat it across the envelope. Suddenly, you’ve got a custom design that looks so much better than anything you could buy off the shelf.
Honestly, the best designs often come from mixing simple things together. Don't hesitate to play around with different textures, colours, and little extras until it just feels right.
If you’re making an envelope for a birthday, washi tape is an absolute lifesaver. It comes in a dizzying array of colours and patterns, so you can add a splash of fun with zero fuss or mess. Stickers are another quick and cheerful option, particularly if you’ve got kids helping you out.
It’s the final touches that really make your creation stand out. One of my favourite tricks for adding a bit of old-school class is to use a wax seal. It sounds fancy, but it's actually dead simple to do and makes opening the envelope feel like a proper little ceremony.
Here are a few more ideas to get you started:
Alright, you've got the basics down. Now for the fun part: making your envelopes a perfect match for the occasion. This is where a simple gift card holder transforms into something genuinely special, showing you’ve put real thought into it.
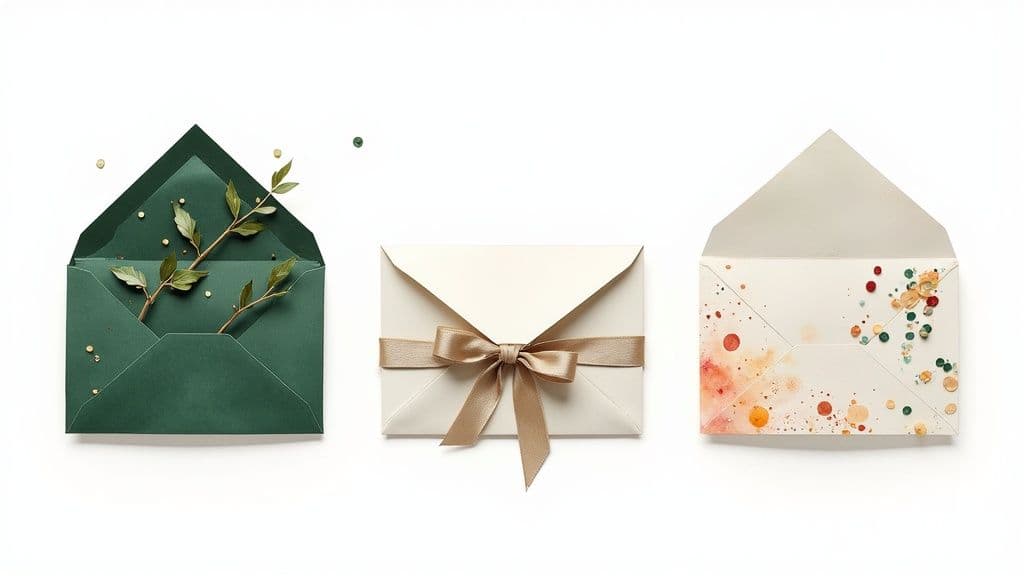
Think about Christmas. Instead of grabbing a generic holder from the shop, picture a deep forest green envelope made from slightly textured cardstock. You could add a few tiny holly cutouts or trace the edges with a gold metallic pen for a touch of shimmer. It instantly feels festive.
For a wedding, the vibe is all about elegance. A soft, pearlescent paper tied with a delicate silk ribbon says "celebration" in a way a standard paper sleeve just can't.
What about digital gift cards? We all love the convenience, but an email can feel a bit impersonal. In the UK, digital now makes up 52% of all gift card sales, so this is a common dilemma. You can read more about this trend over at Persistence Market Research.
The solution is simple: print the QR code or gift details and pop them inside a themed envelope. This little gesture beautifully bridges the gap between digital ease and the tangible joy of unwrapping a physical present.
A handmade envelope for a digital gift card proves that even a last-minute present can feel incredibly personal and well-thought-out. It’s all about the presentation.
For instance, if you're gifting an online bookstore voucher, why not design an envelope that looks like a miniature classic novel? For more festive ideas, many of the principles from our guide on how to design your own Christmas card can be adapted perfectly here.
Here are a few more quick ideas to spark your imagination:
As you start making your own gift card envelopes, you’re bound to hit a few little bumps in the road. Don't worry, it happens to the best of us! Here are some answers to the questions I hear most often, with a few handy fixes to keep your crafting session fun and frustration-free.
Honestly, the best paper weight comes down to the vibe you're going for. If you want something that feels really special and substantial, a light cardstock around 160-200 gsm (grams per square metre) is a fantastic choice. It has enough heft to feel premium but isn't so thick that it cracks when you fold it.
That said, don't feel like you have to stick to cardstock! Decorative scrapbook paper, which is usually a bit thinner, works beautifully. Just be a bit more gentle when you score your fold lines to avoid any accidental tears. You can even get creative with upcycled materials like brown kraft paper from packaging for a wonderfully rustic, eco-friendly look.
A wonky fold is one of the most common crafting annoyances, but it's usually an easy fix. The best trick is to prevent it from happening in the first place. Always use a ruler and a scoring tool—even the tip of an empty ballpoint pen works a treat—to create a clean, crisp guideline before you even think about folding. It gives the paper a clear path to follow.
If a fold has already gone rogue, carefully unfold it and run the edge of your ruler over the crease to flatten it back out. Then, simply re-score along the correct line and fold again, making sure to press down firmly to set the new, perfect crease.
Sometimes the most charming creations come from happy accidents. If a fold is slightly off and you can’t fix it, lean into it! Add an angled embellishment or a piece of washi tape to make the asymmetry look intentional and artistic.
Absolutely! If you'd rather skip the potential mess of adhesives, there are some really clever ways to design glue-free gift card envelopes.
Ready to stop searching for the perfect image and start creating it? With Instastock, you can generate unique, high-quality visuals for your projects in seconds. Create your first five images for free at https://instastock.studio.
Learn how to create a realistic brushed metal texture. Our guide covers Photoshop, Blender, and AI methods for designers and 3D artists.
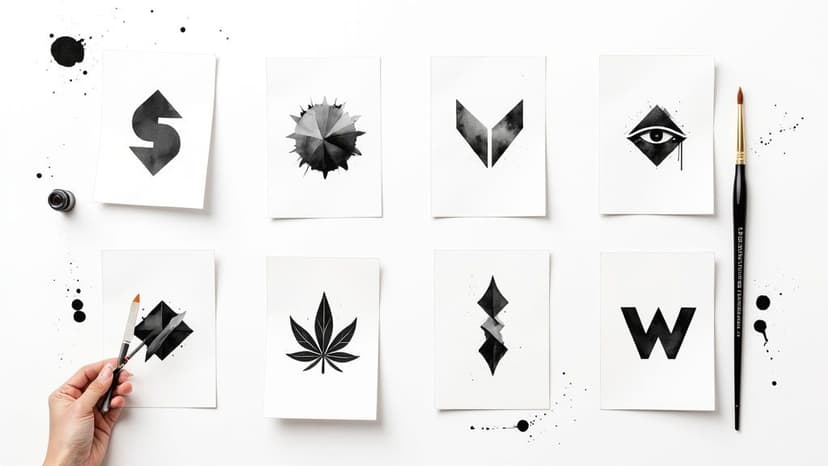
Discover 8 striking black and white logos styles that prove bold contrast can elevate any brand. Find ideas, tips, and timeless design inspiration.
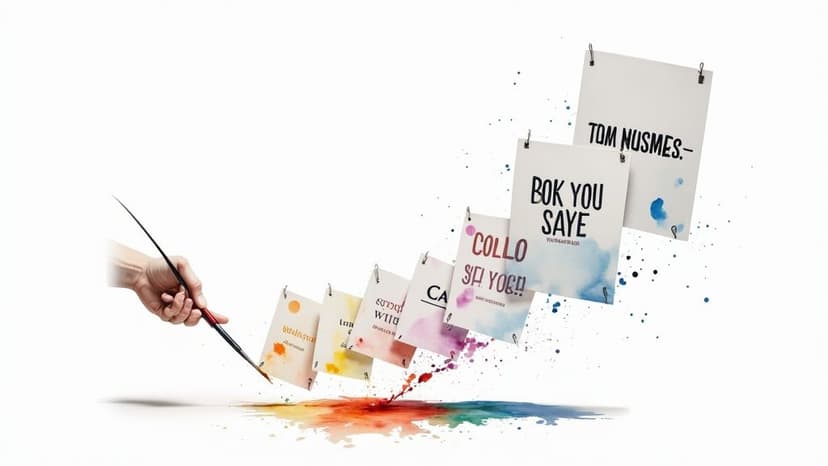
Discover the best fonts for posters and how to pick standout type for print. Top 7 picks and where to find them.