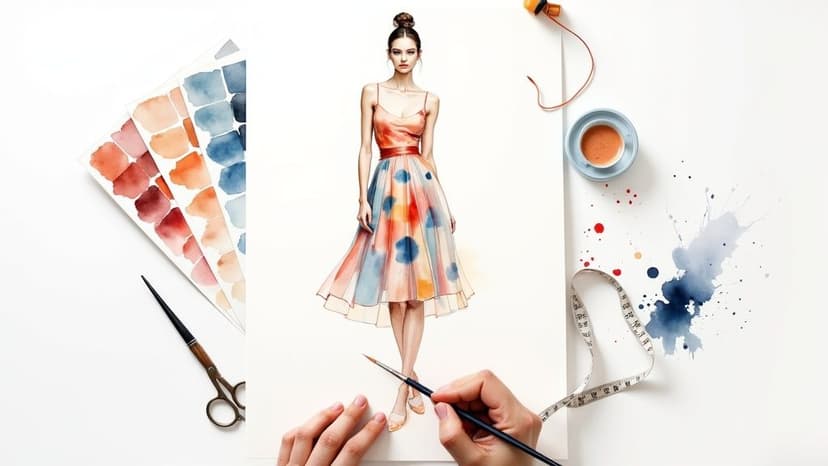
Your Guide to Fashion Illustration Templates
Discover how a fashion illustration template can transform your design workflow. Learn to choose, use, and elevate templates with AI for professional results.
November 5, 2025•10 min read
Master product photography for ecommerce with our friendly guide. Learn to plan, shoot, and edit stunning product photos that drive sales for your online store.
Instastock Team
November 6, 2025 • 13 min read
Product photography for ecommerce is all about capturing your products in a way that makes people want to buy them. Think of these images as your 24/7 online salesperson. They’re what your customers use to judge the details, feel the quality, and imagine your products in their own lives, which is a huge part of their decision to click "add to cart." Honestly, investing in brilliant photography is one of the most effective ways to build trust and see your conversion rates climb.
In the world of online shopping, first impressions are everything. A customer can't pick up your product, feel its weight, or see the craftsmanship up close. Your photos have to do all that heavy lifting for them. They're your number one tool for showing off the value, quality, and even the story behind what you're selling.
Let's be real: poorly lit, blurry, or inconsistent images can make an incredible product look cheap. That erodes a customer's trust before they've even thought about buying. On the flip side, polished, professional photos send a clear signal of credibility. They show you care about your products and your customer's experience, making them feel much more confident in their purchase.
Getting your product photography right isn’t just about making things look nice; it has a real, measurable effect on your sales and growth. In the UK e-commerce scene, the impact is massive. Some studies suggest that high-quality images can boost conversion rates by an incredible 250%. With tens of thousands of online shops in competitive areas like fashion and home goods, standout visuals are non-negotiable.
"A great product photo closes the gap between the screen and reality. It helps a customer see, feel, and imagine owning the product, which is the final step before they click 'buy'."
Beyond just securing that initial sale, fantastic imagery brings a whole host of other benefits to the table.
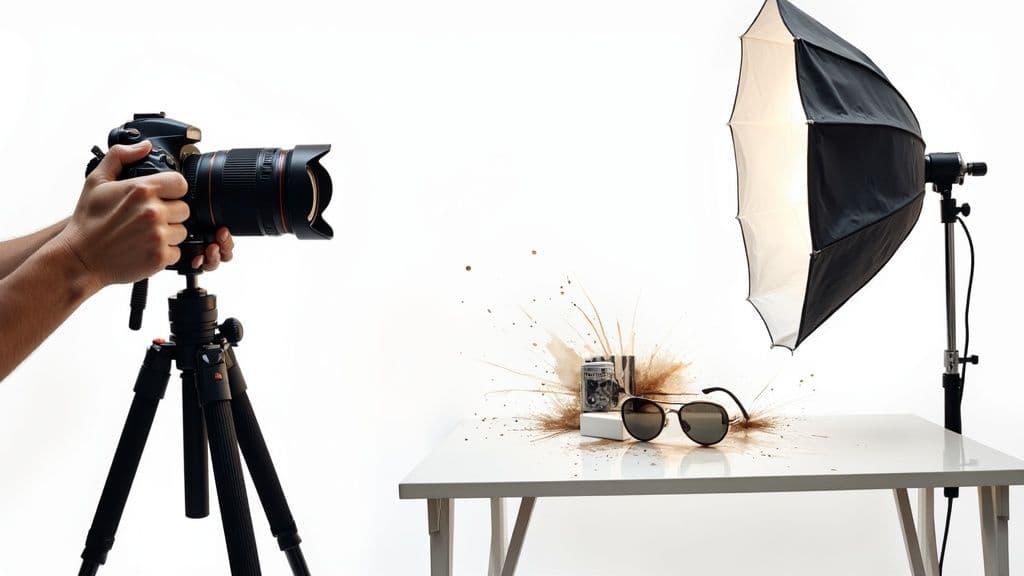
Before you even think about picking up a camera, a bit of planning will make all the difference. Honestly, a well-organised shoot is what separates a day of frustrating chaos from a smooth, creative process that gets you incredible images. The goal is to walk in knowing exactly what you need, which saves a massive amount of time and stress.
This prep work all starts with the most powerful tool in a photographer's kit: the shot list. This isn't just a simple to-do list; it’s your detailed blueprint for the entire day. For every single product, you need to map out the specific photos you have to capture.
There’s nothing worse than wrapping up a long day of shooting, only to realise you completely forgot a crucial angle of your best-selling item. A good shot list keeps you focused and efficient, especially when you’re juggling multiple products.
For each product, your list should cover:
A detailed shot list turns your product photography for e-commerce from a creative guessing game into a repeatable, strategic process. It’s the single best way to guarantee consistency and quality across your entire catalogue.
Beyond just the angles, you need to decide on the overall look and feel of your photos. This isn't just an aesthetic choice; it’s about your brand identity and the story you want to tell. Nailing this down and sticking to it is how you build a recognisable, trustworthy brand.
Let's look at the main styles you'll be working with:
By defining your shot list and visual styles before you start, you’re creating a clear roadmap for success. This prep work ensures every photo serves a purpose, building a cohesive and persuasive product page that ultimately drives sales.
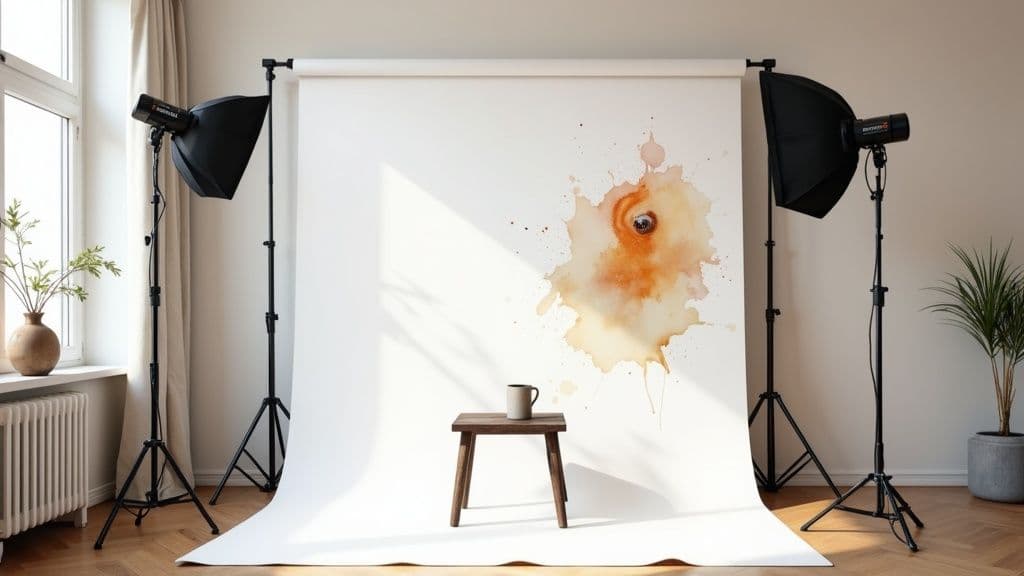
Let's bust a common myth right away: you absolutely do not need a professional studio to take incredible product photos. Some of the most compelling ecommerce shots I've seen were taken in a spare room, a garage, or even on a kitchen table. The real secret isn't having expensive gear; it's knowing how to control the environment you have.
The demand for high-quality product photography for ecommerce has exploded. It’s no surprise that the number of professional photographers in the UK has shot up, with an estimated 79,700 working in the field as of 2025. Many of them are carving out a niche in the booming online retail sector. You can read more about the growth of professional photography in the UK to see the trends, but the key takeaway is that you can apply the same core principles they use, just on a smaller scale.
If you only focus on one thing, make it lighting. It’s the single most important element in photography, dictating the mood, clarity, and overall professional feel of your final images. Getting it right is non-negotiable, but thankfully, it doesn't have to be complicated or break the bank.
Your first and best option is good old-fashioned natural light. Find the biggest window in your home and set up your product nearby. The trick is to avoid harsh, direct sunlight, which creates unflattering, hard shadows. An overcast day is a product photographer's best friend—the clouds act as a massive, natural softbox, diffusing the light to create soft, even shadows that make any product look fantastic.
Of course, you can't always rely on the British weather. If natural light isn't consistent, an affordable artificial light kit is a brilliant investment. A simple one or two-light setup with softboxes will give you complete control. A softbox is basically a light source with a fabric box around it that diffuses the light, perfectly mimicking that gentle effect of a cloudy day. This means you can shoot whenever you want—day or night—and get the exact same results every time.
A messy or distracting background is one of the fastest ways to kill a sale. It makes your product look unprofessional and cheap. The goal here is a clean, seamless surface that lets your product be the undeniable star of the show.
The easiest way to achieve this is with a white sweep. It’s just a large piece of paper or fabric that curves up from the table to the wall behind your product. This simple trick eliminates the horizon line, giving you that classic, "floating in space" look common in high-end ecommerce.
Here are a few simple ways to create one:
A clean, simple backdrop does one job and does it well: it focuses all of the viewer's attention squarely on your product. It’s the foundation of classic, effective ecommerce photography.
It's time to take your camera off "Auto". I know the dials and menus can seem intimidating, but you really only need to understand three core settings to unlock full creative control.
Aperture (f-stop): This controls how much of your photo is in focus (the depth of field). A low f-stop number (like f/2.8) creates a very shallow depth of field, blurring the background, which is perfect for artistic lifestyle shots. For standard product photos where you want every detail crystal clear, you'll need a higher f-stop, something like f/8 or f/11.
ISO: Think of this as your camera's sensitivity to light. To get the sharpest, cleanest image possible with no grainy noise, you want to keep your ISO as low as it can go—usually ISO 100 or 200. You should only ever increase it if you're shooting in a really dark space without a tripod.
Shutter Speed: This is simply how long the camera's shutter stays open to capture the image. To avoid any motion blur, even from a slight hand-shake, a tripod is essential. With a tripod, you can set your shutter speed to around 1/125 of a second or even slower for tack-sharp results. Seriously, a tripod is your best friend.
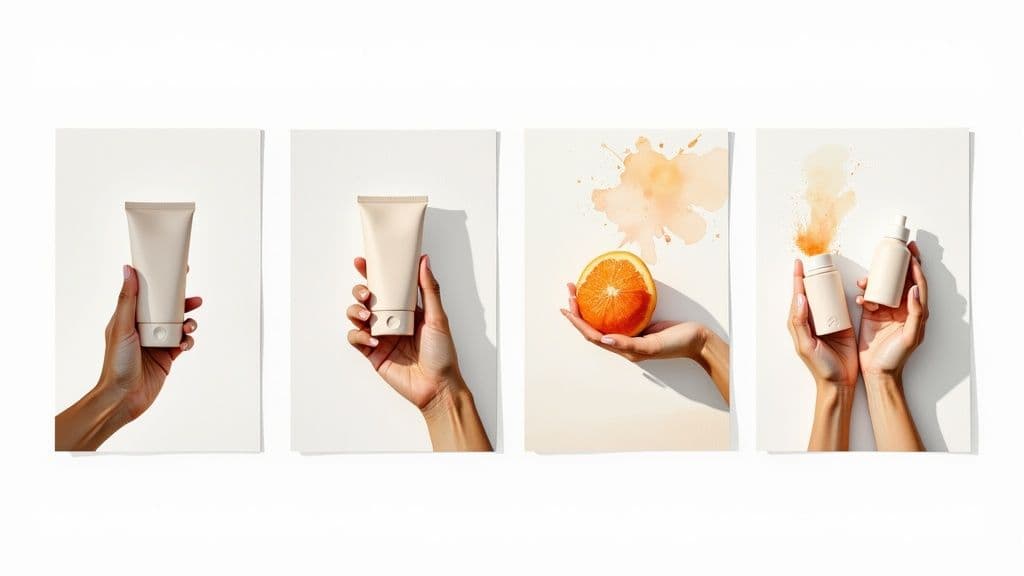
While a clean shot on a white background is the backbone of any product page, it rarely tells the full story. To really connect with your customers, you need a mix of photo styles that answer their questions visually and help them imagine your product as a part of their lives.
Think of your product page as a mini-gallery. A single, sterile image shows what the product is, but a collection of different shots shows what it can do and how it feels. This is how you move beyond a simple listing and create a visual experience that sells.
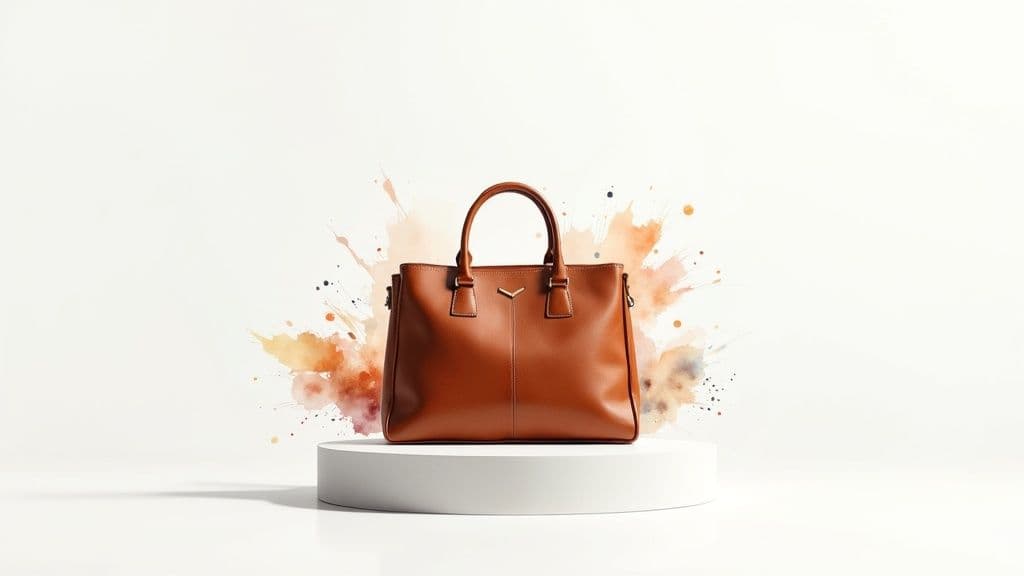
This is your hero shot, the one you simply can't skip. The goal here is clarity and nothing else. You're presenting your product without any distractions, giving it a clean, professional look that builds instant trust. It's the standard for a reason.
To nail this, you'll want a white sweep background and soft, even lighting. The product should be the star, with every detail sharp and clear. This isn't the time for creative shadows or artistic flair—it’s all about accuracy.
Think of your on-white photo as a visual fact sheet. It gives customers a straightforward look at what they’re buying, which is a massive help in reducing returns down the line.
This is where your brand's personality really gets to shine. By placing your product in a real-world setting, you’re selling an experience, not just an object. A watch on someone's wrist, a backpack on a hiking trail, a ceramic mug on a cosy desk—these are the images that spark an emotional connection.
The secret to a great lifestyle photo is authenticity. The scene needs to feel natural and aspirational, reflecting the life your ideal customer imagines for themselves. Use props and pick locations that reinforce your brand’s story and help shoppers see themselves using—and loving—your product.
Never underestimate the power of getting up close and personal. Detail shots, sometimes called macro shots, are your chance to flaunt the craftsmanship, texture, and quality that might otherwise be missed. For a leather bag, it could be the fine stitching; for a piece of jewellery, it’s the intricate clasp.
These close-ups are brilliant for building confidence, especially with higher-priced items. They prove you've got nothing to hide and you're proud of the quality you’re offering. If you have a macro lens, now's the time to use it. If not, just get as close as your camera will allow while keeping the focus razor-sharp on the feature you want to show off.
Flat lays are a fantastic, modern way to showcase a collection of items or style a single product with complementary props. Shot from directly above, this style has a clean, organised, and editorial feel that performs incredibly well on social media like Instagram and Pinterest.
A successful flat lay is all about thoughtful composition. Arrange your items with purpose, making sure to leave enough negative space to keep the shot from looking cluttered. It's a balancing act. If you're new to this, exploring different composition techniques for photography can give you a solid foundation for creating visually pleasing arrangements.
The magic of fantastic product photography for ecommerce doesn't really stop when you put the camera down. In many ways, that’s where it truly begins. The post-production, or editing phase, is where you take your good raw shots and turn them into polished, professional images that will actually drive sales.
This step is absolutely critical. It’s how you get that consistent, clean, and trustworthy look across your entire product catalogue. From a few simple tweaks to more detailed refinements, editing is your final quality control check before a photo goes live. It’s your chance to guarantee every image shows your product in its best light, while still being a true-to-life representation.
Before you jump into editing, it helps to have a game plan. For most e-commerce photos, a handful of fundamental adjustments can make a world of difference.
Remember, your editing process should enhance the photo, not fundamentally change the product. You're aiming for an image that is both aspirational and completely honest. That's how you build trust with every click.
The UK e-commerce photography scene is getting more sophisticated by the day, and good editing software is at the heart of producing the high-quality visuals that shoppers now expect. As brands move towards more immersive content, the demand for sharp, perfectly polished images has become the new standard. You can learn more about the growth of the ecommerce photography market to see how technology is shaping what customers want to see.
When it comes to your own editing, you've got plenty of options:
Finally, once your images are looking perfect, they need to be prepared for the web. This means saving them at the right resolution and file size to make sure your website loads quickly without sacrificing that beautiful quality you just worked so hard on. For a deep dive on this crucial final step, check out our guide on how to reduce the file size of your photos.
Even with the best plan in the world, you’re bound to have questions when you first dive into product photography. It’s completely normal. To help you sidestep some of those early hurdles, I’ve put together answers to some of the most common questions I hear from sellers just starting out.
Getting your head around these initial queries will make the whole process feel a lot less daunting. For a solid primer on the basics, it’s also worth reading up on what is product photography to understand the core principles behind getting great shots. Think of this as your quick-start guide for tackling those first-timer challenges.
You absolutely can. Modern smartphone cameras are ridiculously powerful, and honestly, their quality is often more than enough for stunning web images. The real secret isn't the device in your hand; it's how you control everything around it.
To get those professional-looking results from your phone, you just need to focus on a few key things:
It’s so easy to fall into a few common traps when you’re starting out. Just being aware of them from the get-go can save you a massive amount of time and frustration later on.
The biggest culprits? Almost always inconsistent lighting, busy backgrounds, and colours that aren't true to life. If you mix light sources—say, a desk lamp and light from a window—you'll get strange shadows and weird colour casts. Stick to one type of light for consistency. Likewise, a cluttered background just pulls focus away from what you’re trying to sell. A simple, neutral background is your best friend.
The most critical mistake, though, is getting the product’s colour wrong. Inaccurate colours are one of the leading reasons for customer returns in e-commerce. Always double-check your camera's white balance setting and make any final colour tweaks on a properly calibrated screen.
There's no single magic number that works for every single product, but a great benchmark to aim for is between 5 and 8 high-quality images per listing. This gives you plenty of space to show off your product from every angle without completely overwhelming the shopper.
Your collection of images should work together to tell a complete story and answer any question a customer might have before they even think to ask it. A strong product listing usually includes:
Providing this variety builds a huge amount of trust and gives your customers a much clearer, more confident picture of what they’re about to buy.
Ready to create stunning visuals for your own brand without the hassle of a photoshoot? With Instastock, you can generate unique, high-quality images you fully own in seconds. Describe what you need, refine it with our AI editor, and get the perfect visuals for your marketing, blog, or social media. Try Instastock and create your first five images for free.
Discover how a fashion illustration template can transform your design workflow. Learn to choose, use, and elevate templates with AI for professional results.
Learn to generate any pastel pink background you can imagine. This guide covers easy AI prompts, expert tips, and creative ideas to master your designs.

Learn how to create mockups that win projects. This guide covers planning, tool selection, and presentation tips for designers.