Top Black and White Abstract Background Ideas for 2025
Explore stunning black and white abstract backgrounds for 2025. Discover creative designs to elevate your projects and make a bold visual impact.
October 15, 2025•14 min read
Learn to create a flawless seamless concrete texture with AI. This guide offers practical tips, from writing better prompts to real-world application.
Instastock Team
October 16, 2025 • 10 min read
So, what exactly is a seamless concrete texture? Think of it as a digital image of a concrete surface, but with a special trick up its sleeve. It's designed to be tiled over and over again without any obvious join lines, creating a perfect illusion of one massive, continuous slab. These textures are absolute workhorses in 3D modelling, architectural visualisation, and game design, giving surfaces a sense of realism and character that a flat colour just can't match.
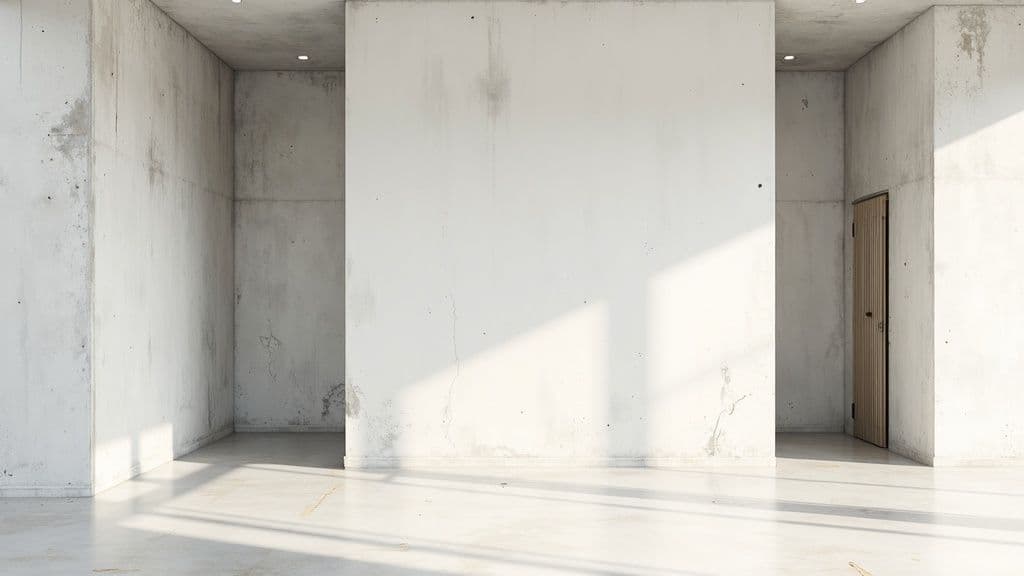
Before we get into the nuts and bolts of creating them, let's talk about why they’re so important. A believable seamless concrete texture isn't just a background detail; it's often the very foundation of realism in your digital scene. Whether you’re designing a polished, modern office interior or a rough, dystopian city, the quality of your concrete can make or break the entire feel.
A simple splash of grey paint on a model feels sterile and fake. A proper texture, on the other hand, brings in all the subtle imperfections that make a surface feel real—the tiny cracks, the slight colour variations, and the faint water stains. These details tell a story and make your environment feel lived-in and authentic.
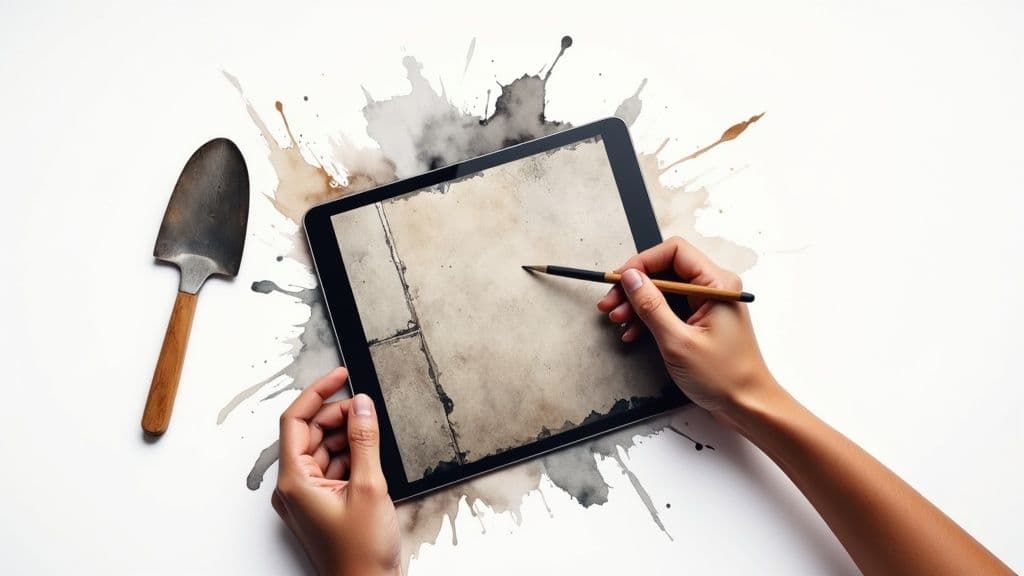
In the old days, making these textures was a real grind. It meant hours spent in software like Photoshop, painstakingly cloning, patching, and blending photos to hide the seams. I've spent more time than I'd like to admit just trying to get one texture right. Thankfully, AI has completely flipped the script.
What used to be a technical, time-consuming chore has become a genuinely creative and exciting process. With AI, you can generate a dozen unique, high-quality options in the time it used to take to just prep your source photos.
This is a massive shift. It means we can spend less time on tedious edits and more time focusing on the artistic vision. Instead of grabbing a generic texture and making do, you can create something that is a perfect fit for the mood and lighting of your project.
The explosion in AI-generated stock images has put custom asset creation within reach for everyone, not just technical artists. It saves a huge amount of time and opens up a world of creative possibilities for designers at any skill level.
This is where the magic really begins. To get a truly convincing seamless concrete texture, you have to do more than just type ‘concrete’ and hope for the best. The secret is to think like an art director, giving the AI a detailed, specific brief that leaves little to chance.
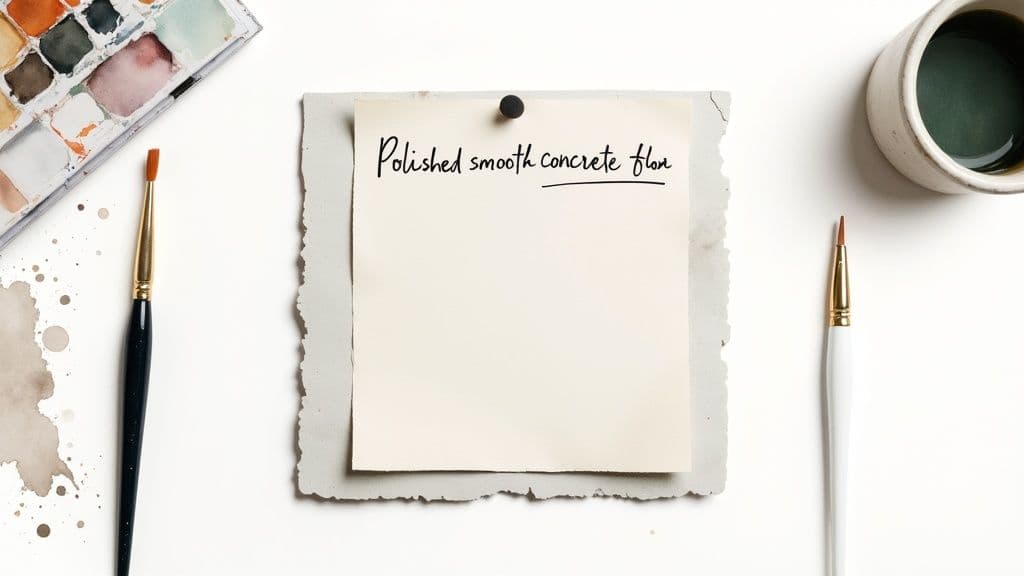
What story does your texture need to tell? Is it a sleek, polished floor for a minimalist architectural render? Or is it a gritty, weathered wall for a dystopian game environment? Specificity is your greatest asset here.
The real goal is to get the AI to generate an image that’s already 90% of the way there, saving you a heap of time in post-production. Let’s look at how adding a few layers of detail can totally transform the result.
concrete texture (This is a lottery ticket – you never know what you'll get).smooth polished concrete floor, light grey, subtle reflections (Much better, now we have a direction).cracked industrial concrete wall, dark grey with prominent water stains and subtle moss growth, gritty surface, photorealistic, 4k detail (Now we're talking! The AI has a clear picture).You can see the difference, right? The final prompt paints a complete picture. It tells the AI about the material’s condition, its colour, surface finish, and even the desired image quality. This is how you get truly unique results that stand out.
Don’t be afraid to get creative with your adjectives. Words like ‘poured’, ‘brutalist’, ‘worn’, ‘damp’, or ‘board-formed’ give the AI powerful clues and guide it toward a much more interesting and specific aesthetic.
If you’re just getting started with this, it’s worth getting a handle on the basics of writing good prompts. You can learn more about how to generate images with AI in our detailed guide, which dives deep into the core principles.
Let's put this into practice. Here are a couple of prompts I’ve personally used on different projects to get the exact seamless concrete texture I needed:
For an architectural visualisation: My prompt was Seamless texture of smooth, light-beige poured concrete panels, clean join lines, matte finish, minimalist style, even lighting. Here, every word is geared towards cleanliness and precision.
For a game environment: I used Grungy, broken concrete pavement seamless texture, with cracks, dirt, and weeds growing through, overhead lighting, post-apocalyptic feel. This time, it was all about imperfection and creating an atmosphere.
Every single word you add pushes the AI in a specific creative direction. Once you get the hang of it, you gain an incredible amount of control, ensuring every texture you create is a perfect fit for your project.
Getting a decent image out of the AI is a great first step, but the real magic happens in the refinement stage. This is where you elevate a good texture into something genuinely photorealistic that breathes life into your scene. It’s all about those tiny, deliberate tweaks that align the texture with your project’s specific mood and lighting.
Think of it as the final seasoning of a dish. The AI gives you the raw ingredients, but it’s up to you to perfect the flavour. Subtle shifts in contrast, colour, and sharpness can completely change the feel, turning a generic output into a bespoke asset. A texture for a sun-drenched patio, for instance, needs warmer tones and sharper contrast compared to one for a dark, moody industrial space.
One of the most powerful tools in your arsenal is the negative prompt. This is where you tell the AI precisely what you don’t want to see. It’s a surprisingly effective way to guide the AI away from common pitfalls without making your main prompt overly complicated.
Here’s how it works in practice:
Prompt: Clean concrete wall, seamless texture
Negative Prompt: --no cracks, moss, graffiti
Prompt: Rough industrial concrete floor
Negative Prompt: --no large rocks, puddles, debris
Using negative prompts helps you get a cleaner, more focused base image right from the start. Getting a handle on different prompting techniques is essential for better results; checking out the top AI content creation tools can also give you a leg up in generating more diverse and high-quality textures.
Another game-changing feature within Instastock is image-to-image generation. If you get a result that's almost there but not quite right, you don't need to scrap it and start again. You can simply feed that image back into the AI with a new prompt to nudge it in the right direction.
For example, let's say you have a texture you mostly like, but it feels a bit too pristine. You can use it as your starting point and add a prompt like,
add subtle hairline cracks and faint water stains. This allows you to build on what’s already working, layering in details with incredible precision.
This back-and-forth process is the secret to creating a truly high-quality seamless concrete texture. It’s this final polish—the exact surface flaws and subtle colour variations—that makes the material feel real. In an industry where physical material demand can be unpredictable, digital creation provides a reliable alternative. For example, the UK's ready-mixed concrete sector saw sales drop by a significant 11.5% in Q2 2025, showing just how much economic factors can impact real-world supply. By mastering these digital refinement skills, you can consistently produce the perfect asset, no matter what’s happening in the market.
This is the moment of truth. Getting the AI to spit out a great-looking texture is the fun part, but making it tile perfectly is what separates the pros from the amateurs. I’ve seen countless artists get tripped up here, but with Instastock’s built-in tools, creating a truly seamless concrete texture is much less of a headache.
The quickest way to get started is to simply switch on the seamless tiling feature right from the get-go. Ticking this box tells the AI to generate an image where the left and right edges already match up, and the same goes for the top and bottom. Honestly, this one little click gets you 95% of the way there.
But here’s a tip from experience: never assume a texture is seamless without checking it yourself. The human eye is brilliant at picking out repeating patterns and flaws, so a quick visual test is an absolute must.
The old-school, tried-and-true method is the offset filter test. You can pull this off in pretty much any decent image editor, like Adobe Photoshop or GIMP. All you do is apply an offset filter that shifts the image by half its width and half its height. What this does is move the edges of your image right into the centre, making any seams glaringly obvious.
If you spot a hard line running through the middle—vertically or horizontally—then your texture isn't quite seamless yet. This is where you can jump in with a clone stamp or a healing brush to gently blend those newly visible edges. Once you're done, just run the offset test again to be sure.
Another vital check is to simply zoom out. When you apply a texture across a huge surface, you might start to see a "checkerboard" effect, where a few light or dark spots create a distracting, artificial pattern.
Here’s a quick mental checklist I run through:
Sometimes, the best way to avoid tiling issues is to get the AI to generate exactly what you need from the start. A few well-placed keywords in your prompt can make all the difference.
Here’s a quick reference table I’ve put together from my own experiments.
| Desired Effect | Example AI Prompt Keywords |
|---|---|
| Smooth, polished finish | polished concrete, smooth surface, minimalist, subtle texture |
| Rough, industrial look | raw concrete, brutalist, pitted surface, rough aggregate |
| Old and weathered | weathered concrete, cracked, mossy, stained, aged patina |
| Specific patterns | board-formed concrete, stamped pattern, exposed aggregate |
Just sprinkle these terms into your base prompt. Tweaking them can help the AI avoid generating overly distinct features that are a nightmare to tile later on.
Every now and then, the AI will get you almost there but leave a faint, barely-there seam. Don't throw the whole thing out and start from scratch! You can usually salvage it with a bit of post-processing. A little careful work with a blending tool right along the seam is often all it takes to make that transition perfectly invisible.
It’s this final touch that ensures your seamless concrete texture is ready to cover any surface you can imagine, without a single flaw.
Alright, you’ve put in the work—prompting, tweaking, and getting that perfect seamless tile. Now for the fun part: getting your new seamless concrete texture out of Instastock and into your project, whether that's a 3D scene or a game environment. How you handle this final step really makes a difference in both the final look and how smoothly your project runs.
First things first, let's talk file format. When you're exporting the main colour map (what some call the albedo), PNG is almost always the way to go. It’s lossless, which is a fancy way of saying it doesn't throw away any detail to make the file smaller. You get exactly what you created.
JPGs are tempting because they’re smaller, but that size saving comes at a cost. They can introduce little compression artefacts—a sort of fuzziness—that you'll definitely notice on a high-res render. For professional-grade work, stick with PNG.
Next up is resolution. It’s easy to think bigger is always better, and while 4K textures are gorgeous, they can be a real drag on performance. I’ve found that a 2K texture (2048x2048 pixels) is the perfect sweet spot for most jobs. It holds up well even in close-ups without bogging down your scene.
If you find your files are still a bit chunky, we've got some great tips on how to reduce the file size of photos without sacrificing too much quality.
For truly believable concrete, you need more than just a single colour image. To make a material that reacts to light realistically (what we call a Physically Based Rendering or PBR material), you’ll want a few extra maps to go with it.
Pretty much any modern 3D software, from Blender to Unreal Engine, relies on these maps to figure out how light should bounce off your concrete. Creating a material without them is like painting a car but forgetting the clear coat—it just won't have that finished, realistic pop.
Once your textures are polished and ready, you can see how they look in a full scene by using the best interior design app to mock up a space. It’s a great way to bridge the gap between creating an asset and seeing it used in a final design.
When you're first diving into generating seamless concrete textures with AI, a few practical questions always pop up. I see them all the time. Let's tackle some of the most common ones.
This is a big one. The honest answer? It depends entirely on what you're building.
For most game development work, a 2K (2048x2048) texture usually hits that perfect balance between sharp detail and good performance. It looks crisp without hogging resources. But if you’re working on high-end architectural visualisation where the client might be doing a virtual walkthrough on a massive screen, you'll probably want to push it to 4K to capture every little detail.
Ah, the classic giveaway of a digital texture. We've all been there – you apply your texture to a huge wall, and suddenly you see the same pattern repeating over and over.
Here’s a trick I use all the time: generate two or three slightly different versions of the same texture. Then, in your 3D software of choice (like Blender or 3ds Max), you can blend them together using a noise map or vertex painting. This simple step breaks up the uniformity in a way that looks incredibly natural.
You absolutely can, and this is where AI really starts to shine. The secret is all in the prompt. You have to be specific.
Instead of just asking for concrete, try something like:
stamped concrete with a worn basketweave patternhighly polished concrete floor with fine aggregate visibleroughcast concrete wall with subtle moisture stainsGetting this granular gives the AI the exact direction it needs. This is a massive advantage, especially when you consider how real-world material availability can fluctuate. For example, UK construction output has seen some ups and downs, with a predicted 1.1% decline in 2024 before a potential recovery. Being able to generate the exact material you need digitally, on-demand, is a game-changer. You can read more about these UK construction industry trends on spglobal.com.
Ready to create some stunning, unique textures in just a few seconds? Give Instastock a try and get your first five images completely free. Start generating at instastock.studio.
Explore stunning black and white abstract backgrounds for 2025. Discover creative designs to elevate your projects and make a bold visual impact.

Want to design your own Christmas card? Our guide shows you how to use AI tools to create beautiful, custom holiday cards your family and friends will treasure.

A friendly guide to creating beautiful AI Christmas scene images. Learn the prompts, tools, and tricks to bring your festive ideas to life in stunning detail.