Create Your Perfect AI Body Outline Template
Learn to design, customize, and use a unique body outline template with AI. Our guide offers practical tips for artists, designers, and creators.
November 16, 2025•10 min read
Learn how to create a flawless bricks texture seamless design using AI. Our friendly guide has actionable tips for realistic, tileable patterns.

Instastock Team
November 17, 2025 • 11 min read
A bricks texture seamless asset is essentially a digital image of brickwork designed to be tiled over and over again without any obvious joins. Think of it as digital wallpaper that creates a continuous, realistic surface. It’s a cornerstone for anyone working in 3D rendering, game development, or architectural visualisation, where a believable look is everything. Thanks to modern AI tools, creating these perfect textures has become incredibly quick and easy.
Before we get into the nuts and bolts of creating them, let's talk about why they matter so much. A perfect seamless brick texture is the unsung hero of digital design. It’s what can take a project from pretty good to genuinely impressive.
Consider the last video game you got lost in or an architectural render that made you do a double-take. The believable surfaces—the walls, the floors, the pathways—are what sell the illusion and make those worlds feel real. The second you spot a repeating pattern or a harsh line where a texture meets itself, that illusion shatters.
That’s where the magic of a seamless texture comes in. A properly tileable texture means you can cover a huge surface, like the entire side of a skyscraper or a long, winding garden wall, and the pattern will flow naturally. No jarring lines, no awkward breaks. Just a smooth, consistent surface that keeps the viewer immersed.
Using a high-quality seamless texture is a clear sign of professional polish. It shows a level of care and attention to detail that really separates amateur work from a professional-grade asset. This is particularly true in architectural visualisation, where clients need to see a photorealistic vision of their future home or office.
A seamless texture isn't just a technical detail; it's a foundational element of visual storytelling. It grounds your digital creation in reality, making it more convincing and impactful for the audience.
The sheer variety of brick styles available now also plays a massive part. The UK brick manufacturing industry, for example, has undergone a huge shift, blending classic, traditional materials with a whole host of imported options. This gives designers a much richer palette to draw from, allowing for more creative and authentic digital work.
To get a broader sense of how AI is shaking up the design world, you can find some great resources that cover the best AI for interior design.
The screenshot below gives you a peek at how an AI platform like Instastock can whip up these textures from just a few words.

This simple interface is where your creative idea starts its journey to becoming a tangible, ready-to-use digital asset.
The real magic behind getting a fantastic result from any AI tool is all in the prompt. You have to think of yourself as a director and the AI as your talented, but very literal, set designer. If you give vague instructions, you’ll get vague results. Specificity is what creates a masterpiece, and this couldn't be more true when you're trying to generate a bricks texture seamless asset.
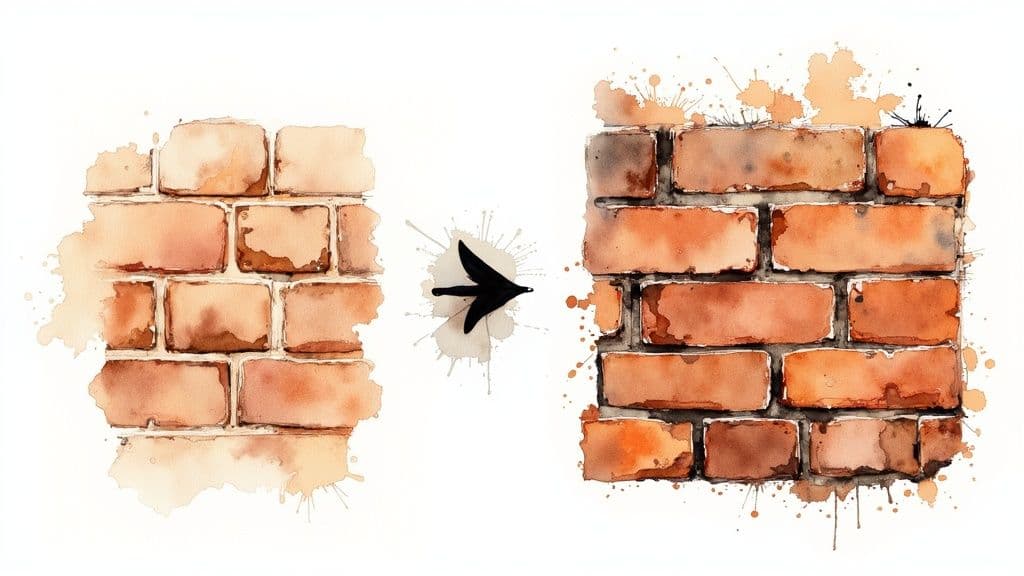
Sure, a simple prompt like "brick wall" might spit out something you can use, but you’re leaving so much to chance. Will the bricks be red clay or a sandy yellow? Is the mortar neat and tidy, or is it crumbling and old? To get the exact texture you have in your head, you need to break down your vision into clear, descriptive pieces the AI can really sink its teeth into.
Instead of just tossing a single phrase at the AI, let's build your prompt with layers of detail. The aim here is to paint a complete picture with your words, covering all the little things that make a brick surface what it is.
I've found it helps to think about these three key areas first:
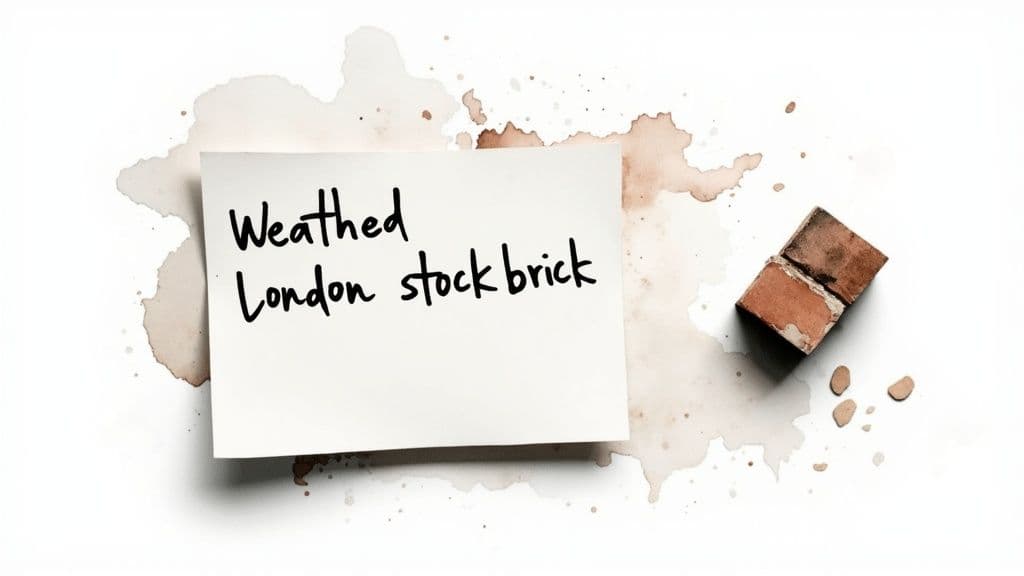
By pulling these elements together, a basic prompt like "brick wall" quickly becomes something much more powerful, like "weathered London stock bricks in an English bond pattern with uneven grey mortar." The difference this makes to the final image is like night and day.
If you want to get a better handle on the basics of AI image creation, our guide on how to generate images with AI is a great resource.
Once you've locked down the physical structure, it’s time for the fun part: adding the artistic touches that really bring your texture to life. This is your chance to control the mood and tell a story with the surface.
Think about the lighting and environment. A prompt that includes "soft, overcast daylight" will give you a texture with gentle, diffused shadows, which is perfect for most exterior renders. On the other hand, something like "dramatic, low-angle morning sun" will create long, striking shadows and make the texture's depth pop.
Weathering and age are also fantastic descriptors. Tossing in phrases like "subtle moss growth in crevices," "faint water staining below the pointing," or "a few cracked corners and surface pitting" introduces a sense of history that a perfectly clean texture just can't match.
A great prompt anticipates how the texture will be used. If you're building a historic game environment, add 'ancient, crumbling, mossy.' For a clean architectural render, you might use 'new, sharp, precise pointing.' Your words directly shape the final asset you get.
Let's pull it all together into a really solid, descriptive prompt. Imagine feeding this to the AI: "A bricks texture seamless photo, weathered London stock brick, English bond, uneven grey mortar with slight overspill, subtle moss growth in crevices, soft overcast daylight, 4K detail." This level of detail gives the AI everything it needs to generate a texture that’s a perfect match for your vision.
Alright, you’ve got your detailed prompt ready to go. Now for the fun part: watching the AI bring your words to life. This is where your idea transforms from a string of text into a real, usable asset. Let's walk through how this works on the Instastock AI platform, taking your concept to a finished texture in just a few clicks.
First up, copy that carefully crafted prompt and paste it right into the generation bar. But hold on a second before you hit 'Generate'. I've found it’s a great habit to create a few options right from the start. Generating three or four variations at once gives you a much better chance of landing on something that perfectly matches your vision. The AI has its own creative quirks, and each generation will be slightly different, so having a selection is a huge time-saver.
Next, and this is the most important setting for what we're doing, you need to find the 'Seamless' or 'Tiling' option. It’s usually a simple toggle or checkbox. Flicking this on tells the AI that the edges of the image must line up perfectly. This is the absolute key to turning a static picture into a versatile, tileable bricks texture seamless asset that you can repeat infinitely.
Sometimes, what you don't want is just as important as what you do. That’s where negative prompts come in. Think of them as a list of instructions telling the AI what to leave out of the picture.
For a clean, classic brick wall, for example, you'd want to exclude things that could clutter the look. I often add terms like:
Using negative prompts is a clever way to refine the AI's output without having to constantly rewrite your main prompt. It’s like putting up guardrails to keep the generation on the right track.
The real power of a negative prompt is precision. You’re simply removing the noise to help the AI deliver a cleaner, more accurate result that’s ready for your project.
Creating high-quality, realistic textures isn't just a niche skill anymore; it's a huge deal in fields like architectural design and construction. To give you some perspective, the UK brick cladding systems market is expected to hit a staggering USD 18.1 billion by 2030. A big driver for this growth is the demand for systems that rely on the flawless look of pre-finished bricks and seamless finishes.
This trend shows just how much the appearance of a facade matters. You can read more about this market and what it means for designers in this detailed industry outlook.
When you get good at generating textures with AI, you're doing more than just making a digital file. You're learning a workflow that directly meets the aesthetic needs of modern architecture. The skills you're picking up have real-world applications in a massive, growing market.
So, with your main prompt in, your negative prompts set, and that all-important seamless feature switched on, you’re good to go. It's time to hit that 'Generate' button.
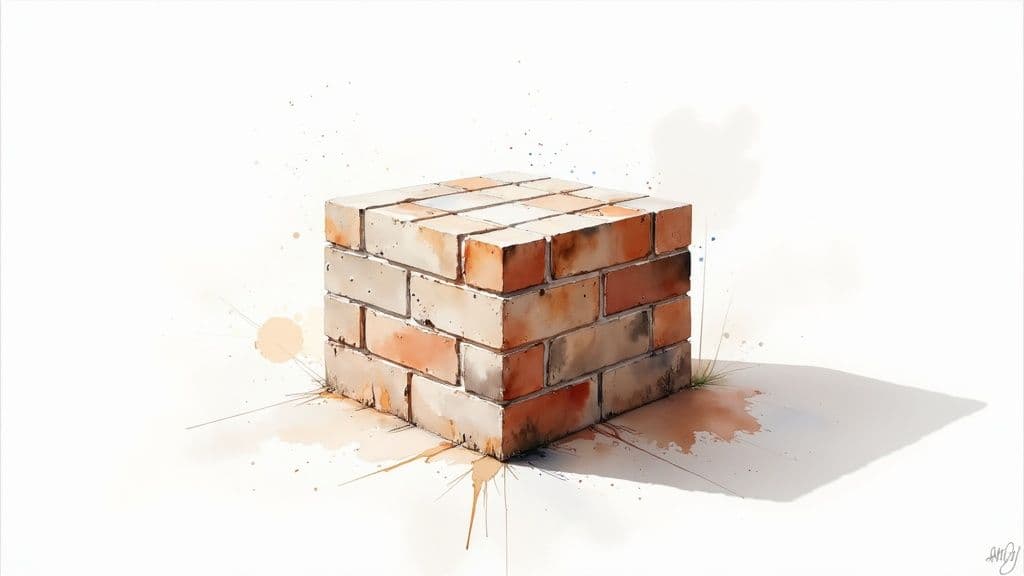
Getting that initial image from the AI is a fantastic starting point, but the real magic happens in the refinement stage. This is where you take your new bricks texture seamless asset and polish it until it’s ready for anything you can throw at it, whether it's a high-end architectural render or a detailed video game environment.
First things first, let’s talk resolution. Your AI might generate a texture at 1024x1024 pixels, which is great, but many professional projects need more detail—think 2K or even 4K. Using an AI upscaler, like the one built into Instastock, is your best bet here. It intelligently adds detail instead of just stretching pixels, which keeps your brickwork looking crisp and realistic.
Even when you use a 'Seamless' feature, it’s always a good idea to give the final result a quick once-over. A subtle repeating pattern or a slightly off-colour edge might not seem like a big deal, but it can become painfully obvious when your texture is tiled across a massive wall.
Luckily, there’s an easy trick to spot these issues.
Most image editing programs have an "offset" filter. Just apply it to shift the image horizontally and vertically by half its width and height. This clever move brings the original edges right into the centre of your canvas. If there are any sneaky seams, they’ll show up as clear lines running through the middle, making them impossible to miss.
Found a seam? No stress. A few dabs with a clone stamp or a healing brush tool can usually blend the mismatched parts perfectly. The aim is to make the transition between tiles totally invisible.
Once you're confident the texture is perfectly seamless, it's time to play with its visual character. This is your chance to make the texture fit the exact mood and lighting of your scene.
A few small adjustments can make a world of difference:
To get your textures looking their absolute best, exploring different photo editing software can open up a world of powerful tools for this kind of refinement. The core ideas of adjusting colours and contrast are pretty universal, and they apply to all sorts of materials. For another take on this, have a look at our guide to creating a seamless concrete texture, where we use very similar finishing techniques.
A great texture isn't just about what the AI generates; it’s about how well you refine it to fit its final purpose. Those few extra minutes of careful adjustment can turn a good asset into a perfect one.
By pairing smart AI upscaling with a bit of manual checking and some thoughtful colour correction, you can ensure your seamless brick texture is not just technically sound, but also a perfect artistic match for your vision. It's this level of detail that really makes a project shine.
Right, you’ve nailed it. You’ve generated and refined the perfect bricks texture seamless asset in Instastock. Now for the fun part: putting it to work in an actual project.
Getting your texture out of Instastock and into your design software is the final hurdle. The first thing to consider is the file format. While it's tempting to just grab a JPG, I always find it’s worth exporting as a lossless format like PNG.
Why? Because JPGs compress your image, which can introduce tiny imperfections or 'artefacts'. A PNG, on the other hand, keeps every pixel exactly as you intended, preserving all those crisp details and subtle colour shifts you spent time perfecting. It's a small step that makes a world of difference to the final quality.
Whether your tool of choice is Blender, 3ds Max, or even a game engine like Unreal Engine, the basic workflow is pretty much the same. You'll create a new material and then assign your seamless brick image to the 'Base Colour' or 'Diffuse' map. This essentially tells the software to wrap your image around your 3D model.
Once it's applied, the next big job is getting the scale right. A classic rookie mistake is just leaving the texture at its default size, which often makes the bricks look comically huge or weirdly tiny. To fix this, you need to dive into the material’s texture coordinate or UV mapping settings.
This is where you can play with the tiling values. For instance, instead of the texture appearing once across a wall, you might need to repeat it four or five times to get the bricks looking like a believable size.
The goal is to make the texture feel like a natural part of the model, not just a flat picture slapped on top. Always check the scale against other elements in your scene, like doors and windows, to maintain a realistic sense of proportion.
The digital textures we make are all about mimicking real-world materials, and sometimes, a little industry insight can spark some new ideas. For example, recent UK Government statistics show that brick imports hit a massive 316 million units in 2024.
This tells us that real-world architects are looking abroad for unique styles, and we can do the same with our digital creations. It’s a great reminder to seek variety and not just stick with the standard red brick.
And when your project is finally rendered with its new texture, you'll want to show it off professionally. A great way to do that is by dropping it into a mockup. If you're looking for some guidance on that, our guide on how to create mockups has some fantastic tips to get you started.
When you first dive into creating seamless brick textures with AI, a few common questions always seem to surface.We see them all the time from designers and 3D artists. Nailing these key points early on will save you a ton of hassle and get you to that perfect final asset much faster.
Let’s get into it.
A solid rule of thumb is to begin with a square aspect ratio, and 1024x1024 pixels is the sweet spot. This size gives the AI plenty of detail to chew on, letting it create a really convincing, rich surface without bogging down your system.
More importantly, it’s the ideal canvas for upscaling later. Once you’ve generated a tile you’re happy with, you can pop it into an AI upscaler and easily bump it to 2K (2048x2048) or even a crisp 4K (4096x4096) for those high-end projects. This two-step process is the secret to getting sharp, professional results every single time.
I always think of the initial 1024x1024 generation as my digital clay. It's malleable and easy to work with. The upscaling part is like firing it in the kiln—it locks in the detail and makes it a production-ready asset.
Ah, the dreaded tiling effect. You generate a texture that looks absolutely brilliant up close, but as soon as you tile it across a wall, you see the obvious repeats. It's a classic problem, but thankfully, the fix is usually just a quick prompt adjustment.
The trick is to lean into controlled chaos. You need to tell the AI to introduce more randomness and complexity into the image. Just go back to your prompt and sprinkle in some descriptive phrases that encourage variety.
Here are a few I use all the time:
varied brick colour with subtle tonal shiftsirregular mortar with random weatheringnon-uniform surface with occasional chipped edgesThese little additions guide the AI away from a perfectly symmetrical, factory-fresh look. That’s the key to creating a natural, organic surface where the seams just disappear.
Absolutely! The exact same principles we're using for a brilliant seamless brick texture apply to pretty much any material you can dream up. Whether you're after wood, stone, fabric, or even metal, the core workflow doesn't change.
It all comes down to a specific, descriptive prompt. Say you wanted a wood texture. You’d need to specify the type of wood (weathered oak planks), the grain (prominent, swirling grain), and maybe a finish (matte, unstained finish). Or for stone, you might describe the rock type (rough-cut granite blocks) and its surface details (pitted and mossy). The 'Seamless' feature in Instastock is incredibly versatile and handles all sorts of materials beautifully.
Ready to stop searching and start creating? With Instastock, you can generate the exact texture you need in seconds, completely custom and fully owned. Try it for free today!
Learn to design, customize, and use a unique body outline template with AI. Our guide offers practical tips for artists, designers, and creators.
Discover 7 standout sources for a healthy lifestyle poster. Our guide offers design insights for clinics, schools, and offices to inspire wellbeing.

Discover how to craft beautiful DIY gift cards envelopes. Our guide offers creative ideas and simple tips to make your gift feel extra special.