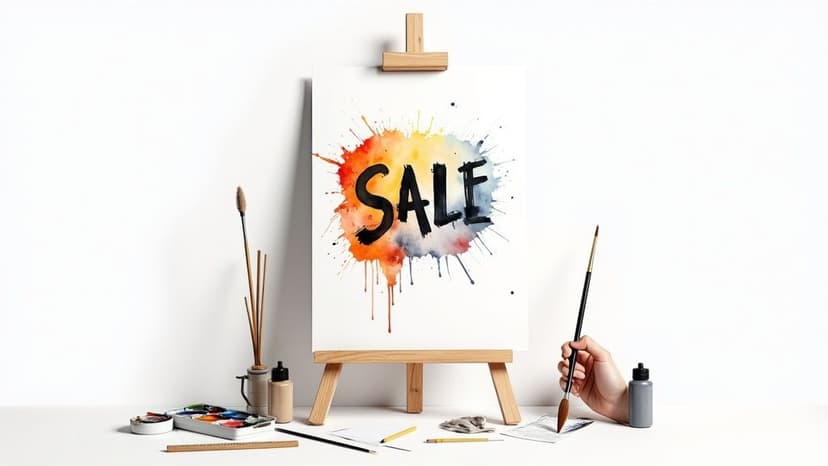
Create a High-Converting Poster for Sales
Learn how to design a poster for sales that actually drives results. Get practical tips on design, copywriting, and strategy using Instastock.
November 19, 2025•13 min read
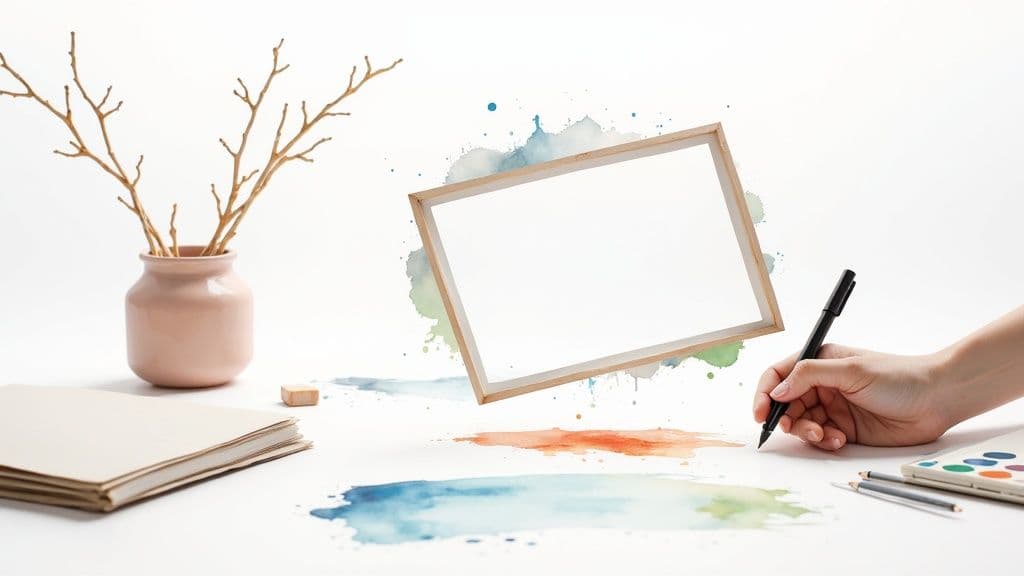
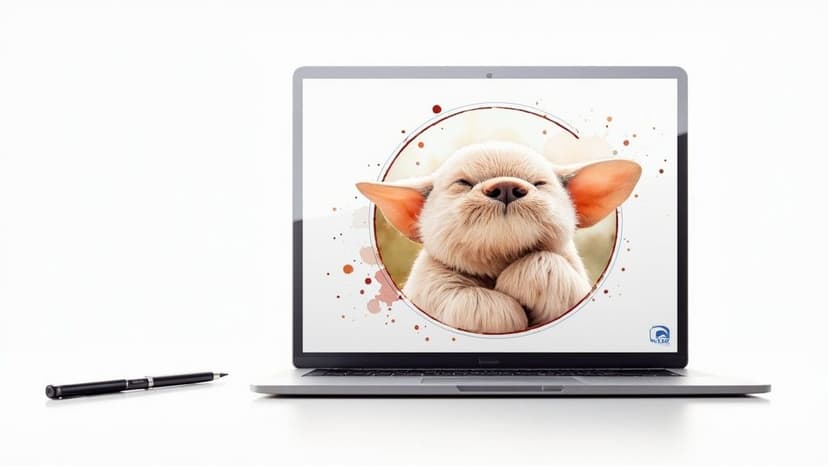
Discover how to create stunning AI photo frames templates. This guide offers actionable tips for designers and marketers to elevate their visual content.
Instastock Team
November 20, 2025 • 14 min read
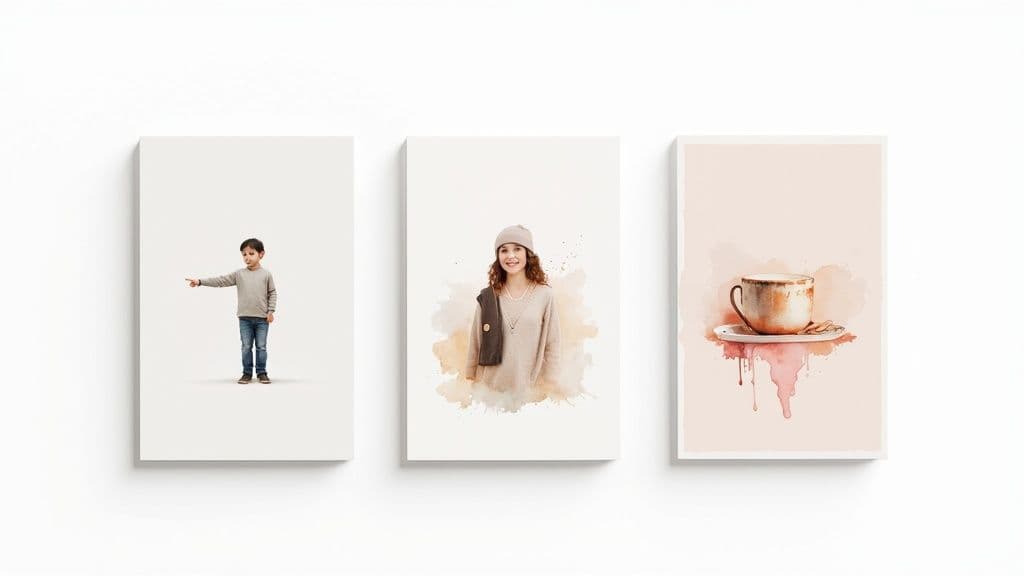
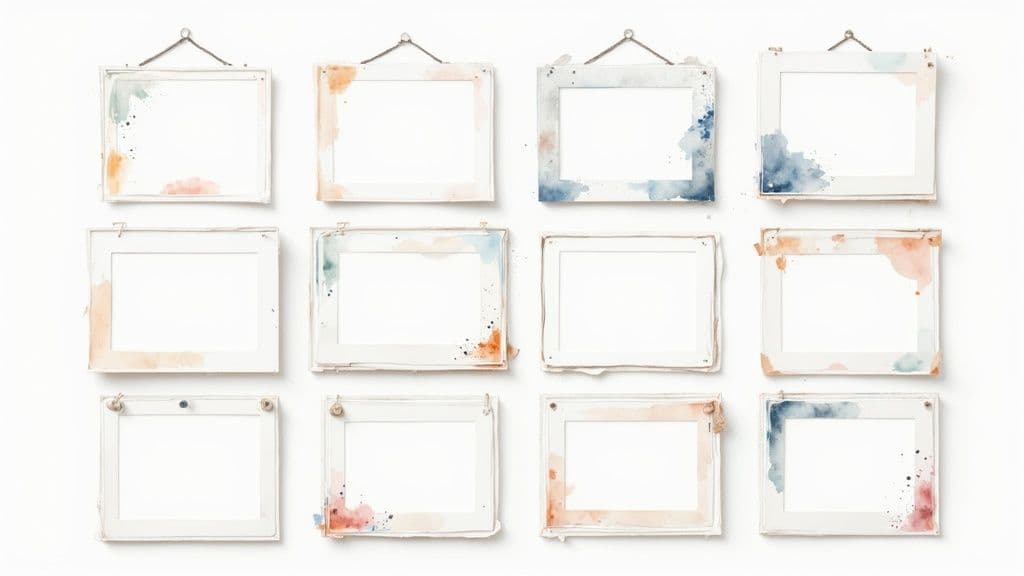
Think of photo frame templates as pre-made borders you can pop around your images to give them a bit of extra style, branding, and context. They're a lifesaver for creating a consistent, polished look across all your social media posts, ads, and blog images. Essentially, they let you frame your content beautifully without having to start from scratch every single time.

Feel like your marketing visuals are getting lost in the noise? I get it. In a ridiculously crowded feed, branded photo frames are one of the smartest ways to build brand recognition and keep everything looking consistent. But let's be honest, who has the time to design a unique frame for every single post?
This is exactly where AI completely changes the game. I'm going to walk you through how modern tools let anyone—from busy marketing teams to one-person-shows—generate gorgeous, on-brand frames in minutes, not hours. It's time to ditch the fussy, complicated design software for good.
In a world that’s all about visuals, consistency is everything if you want to build a brand people remember. Having a cohesive set of photo frame templates means every image you share instantly connects back to your brand. This isn't just a digital thing; it mirrors how we appreciate well-presented art in the physical world.
In fact, the United Kingdom's picture frame market is expected to grow at a rate of around 3.6% each year between 2022 and 2030. That tells you something important: people value a good frame. This same appreciation carries over to our digital lives, where a well-framed image is crucial for standing out.
The goal isn’t just to post a picture; it’s to present it. A well-designed frame template acts like a uniform for your content, telling your audience that this visual belongs to your brand’s story.
Think of this guide as your friendly roadmap to mastering AI-powered frame creation. We'll cover it all—from choosing the right tool to building an entire library of templates that perfectly match your brand's vibe.
Of course, to really make your AI photo frames shine, you'll need great images to put in them. It's worth exploring some of the best stock photo sites to find compelling visuals that work with your new templates. When you combine powerful AI with stunning imagery, you’ve got a recipe for a visual presence that truly gets noticed.
Stepping into the world of AI design can feel a bit like walking into a massive shop with endless aisles. With so many tools popping up, how do you find the one that actually slots into your workflow and helps you create brilliant photo frame templates without a massive headache? The trick is to look past the marketing fluff and zero in on what really matters for this specific job.
Not all AI generators are created equal. Some are amazing for conjuring up artistic, abstract visuals from thin air, while others are built for practical marketing assets. For creating frames, you need a tool that strikes a good balance between creative freedom and brand control. To get a feel for what's out there, it’s a great idea to explore the best AI image generators and see the different flavours available.
When you’re weighing up your options, try not to get dazzled by a long list of features you’ll probably never touch. Instead, focus on the things that will genuinely make generating frames easier and more effective for your brand.
Here’s a practical checklist to help you decide:
A tool like Canva's Magic Studio, for instance, is great for marketers who need quick, template-driven results. On the other hand, Adobe Firefly offers deeper integration with professional design software, which is perfect for designers needing more granular control over their photo frames templates. For a closer look, our guide on the best AI image generator options offers an in-depth review: https://instastock.studio/blog/best-ai-image-generator.
Your ideal tool is one that feels less like a complex machine and more like a creative partner. It should speed up your process, not add another layer of complexity to your workload.
To make the choice a bit clearer, let's compare some popular tools side-by-side, focusing on the features that matter most for creating photo frame templates. This should give you a good snapshot of where each tool shines.
| Feature | Tool A (e.g., Canva Magic Studio) | Tool B (e.g., Adobe Firefly) | Tool C (e.g., Fotor) |
|---|---|---|---|
| Ease of Use | Very high, template-driven | Moderate, pro-designer focus | High, user-friendly interface |
| Brand Kit Integration | Yes, comprehensive | Limited, via CC Libraries | Yes, for premium users |
| Post-Generation Editing | High, within the Canva editor | Very high, integrates with PS | Moderate, built-in editor |
| Batch Creation | Yes, with Magic Write & Switch | No, focused on single assets | Limited |
| Style Consistency | Good, using "Magic Edit" | Excellent, with "Style Kits" | Fair, prompt-dependent |
| Export Options | Extensive (JPG, PNG, PDF, etc.) | Standard (PNG, JPG) | Standard (JPG, PNG) |
Ultimately, the table shows there's no single "best" tool—it all comes down to your team's specific needs, skills, and the type of frames you're aiming to produce.
Finally, think about your main goal. Are you creating sleek, minimalist frames for e-commerce product shots? A tool with precise editing and simple style application is your best bet. Or are you designing vibrant, detailed frames for a big event promotion? In that case, you'd want an AI that’s brilliant at generating rich, imaginative visuals from descriptive prompts. The right choice always comes back to your specific creative goals and workflow.

Ready to bring your ideas to life? This is where the real fun starts. Let’s walk through how to create your very first AI frame template, turning a blank canvas into a polished, brand-ready asset. I promise, it’s much more intuitive than it sounds.
The journey doesn't begin with design, but with purpose. Before you even think about writing a prompt, you need to know where this frame is going to live. Is it for a fleeting Instagram Story that needs to grab attention fast? Or is it for a more permanent website banner that needs a refined, elegant look? The dimensions and context will shape every decision from here on out.
Honestly, this first step is crucial. A frame designed for a vertical 9:16 story will look completely out of place when squeezed into a 1:1 square for a feed post. Most AI tools have presets for common formats, so always start by picking the right canvas for its final destination.
Now, it’s time to tell the AI what you’re picturing. You do this with text prompts, which are basically just descriptive instructions. The magic is all in the words you choose. Vague prompts give you generic results, but specific, evocative language is what unlocks truly unique photo frames templates.
Think of yourself as an art director giving clear instructions. Instead of just asking for a "nice frame," get much more detailed with it.
The difference in what you get back from these prompts is night and day. The more detail you feed it—style, objects, colour palette, lighting—the closer the AI will get to what's in your head.
The first thing the AI generates is rarely the final version. Think of it more like a brilliant first draft that needs your creative touch to become perfect. This is your chance to refine the details and make sure the design truly aligns with your brand.
Most tools will let you tweak the AI's creation. You might adjust the colours to match your exact brand hex codes, remove a small element that feels a bit off, or even ask the AI to regenerate a specific part of the frame. It's this back-and-forth process that makes the design truly yours.
A great AI-generated frame isn't just about the prompt; it's about the partnership between your vision and the tool's capabilities. Use the initial output as a canvas for your final masterpiece, adding those human touches that make it unique.
The final step is to add your own branding. This usually means uploading your logo as a PNG with a transparent background and placing it somewhere strategic on the frame. Don’t be afraid to experiment with placement—a subtle logo tucked into a corner often looks far more professional than one that screams for attention. If you're looking for inspiration on how to position elements effectively, exploring a body outline template can surprisingly offer great insights into balance and composition.
This whole process shows how modern digital design often mimics traditional aesthetics. Physical picture frames are still incredibly popular—UK consumption is expected to hit 37.1 million units by 2025—which proves our timeless love for well-presented visuals. AI templates simply give us a way to capture that classic appeal with incredible speed and consistency.
You’ve got the fundamentals down, which is great. Now, let’s get to the really fun part—moving past simple prompts and starting to craft photo frame templates that are genuinely unique. This is where you can start weaving your brand’s personality into the visuals, creating designs that feel distinctively yours.
The real trick is to stop thinking of the AI as just a generator and start treating it like a creative partner. Instead of making one-off frames, think bigger. Focus on building cohesive sets that tell a story. For instance, you could whip up a whole collection for a seasonal campaign. Imagine a set of autumnal frames prompted with "warm amber tones, dried leaves, and subtle gold accents" – perfect for all your autumn promotions.
This approach gives you that all-important consistency. You could also create specific templates for your different content pillars. Picture this: one style for customer testimonials, a slightly different one for new product announcements, and a third, more relaxed look for your behind-the-scenes posts. Before you know it, you’ve built a visual language your audience will recognise in a heartbeat.
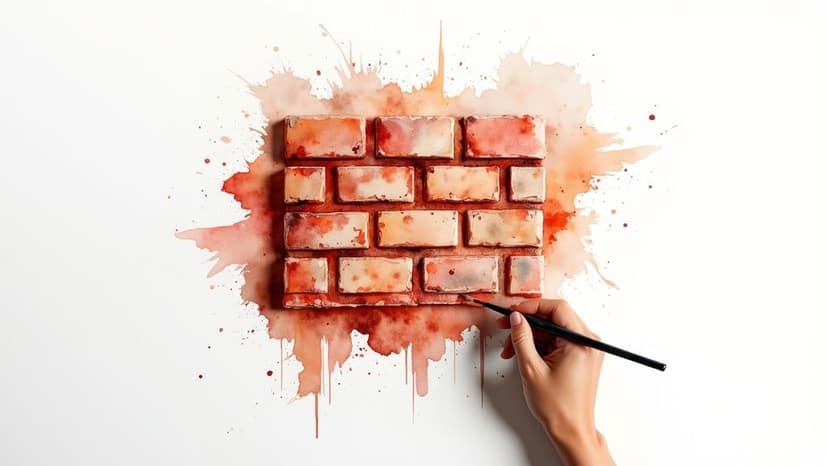
One of my favourite ways to add a professional touch is by layering different AI-generated elements. Start by creating a base frame. Then, generate separate details—like a "delicate watercolour splash" or some "geometric gold line art"—on a transparent background. Pop open your favourite design tool and start layering these elements over your base frame.
This method gives you so much more control and creates a depth that's tough to get from a single prompt. It’s like making a digital collage; the AI generates the pieces, but you’re the one who curates and arranges them into something special.
And while you're adding elements, don't forget about what you leave out. Negative space—the empty areas in your design—is incredibly powerful. A frame doesn't have to be a solid, chunky border. Try prompts that give you delicate corner accents or cool, asymmetrical details. This can create a much more modern and sophisticated look that really draws the eye to the photo itself.
The goal here is to stop just framing a photo and start integrating the frame into the composition. When you use layering and negative space thoughtfully, a simple border becomes a powerful storytelling element.
For ultimate efficiency, the end goal is to build a master template system. This is all about creating a core "master" frame design that absolutely nails your brand's aesthetic. Keep this one relatively simple but distinctive.
Once you have your master design, you can spin off variations for almost any situation.
A system like this is a massive time-saver. You're not starting from scratch every single time; you're just adapting a design that you already know works. It keeps everything perfectly on-brand while still giving you plenty of creative wiggle room. This mirrors what we're seeing everywhere in visual media. The global digital photo frame market is expected to hit a staggering USD 61.88 billion by 2030, and a big reason for that is the demand for dynamic, personalised displays. You can read more about the growth of the digital frame market to see how this trend applies to digital marketing. By building your own template system, you’re meeting that same demand for visuals that are fresh, yet consistently familiar.
It’s one thing to create a single, stunning frame. But the real magic happens when you can churn out a hundred in the time it used to take to make just one. This is where AI-driven workflows truly shine, turning a tedious task into an efficient production line for big projects—think an entire e-commerce product gallery or a month's worth of social media content.
Modern AI tools are built for this. Forget opening and editing photos one by one. You can now upload an entire folder of images, select your favourite photo frames templates, and apply them across the entire batch in a single click. It's an absolute game-changer for maintaining consistent, professional branding at scale.
Once your masterpiece frames are ready, how you save them is just as important as how you made them. Getting your export settings right is crucial for quality. You'll mostly be dealing with PNGs and JPGs, and knowing which one to pick can make a surprising amount of difference.
Here’s a simple way I remember it:
PNG (Portable Network Graphics): This is your best friend for anything involving transparency. If your frame has cutouts, a delicate border, or any see-through elements that need to show the background behind them, PNG is the only way to go. It keeps every pixel perfect without any lossy compression, which also makes it ideal for master templates or logos.
JPG (Joint Photographic Experts Group): For almost everything else on the web, JPG is the workhorse. It smartly compresses files to keep their size down, which is fantastic for fast-loading web pages and getting past the pesky file size limits on social media platforms. The quality is more than enough for photos and everyday digital posts.
Getting the size and format right for each platform can be a bit of a moving target. For a handy cheat sheet, check out our guide on social media image dimensions. It’ll help you make sure everything looks sharp.
When you're exporting your freshly made templates, choosing the right settings ensures they look fantastic everywhere they're used. Here’s a quick guide to help you decide.
| Platform / Use Case | Recommended Format | Key Considerations |
|---|---|---|
| Instagram & Facebook Posts | JPG | High compression works well. Aim for under 1MB to ensure fast loading on mobile feeds. |
| Website Banners & Hero Images | JPG or WebP | Focus on file size. A tool like TinyPNG can help compress without noticeable quality loss. |
| Templates with Transparency | PNG-24 | Essential for logos or frames with cutouts. The file size will be larger, but it’s necessary to preserve transparency. |
| Email Marketing Graphics | JPG | Email clients can be picky. Keep files small (under 200KB) to avoid being flagged as spam. |
| Master Template Files | PNG | Use PNG for the original, editable versions you store internally. It's a lossless format, so you won't lose quality over time. |
Ultimately, the goal is to balance visual quality with performance. A beautiful image that takes forever to load won't do you any good, so always test how your exported files look and perform in a real-world setting.
A folder packed with files named Final_v2_final.png is a recipe for a headache. To really make this system work for your entire team, you need to build an organised template library. Think of it like a professional kitchen—everything has its place so you can work quickly and efficiently.
Don't just save your files; curate them. An organised library turns your collection of photo frames templates from a simple asset folder into a powerful, reusable system that accelerates every future campaign.
Start with a logical folder structure. You could group files by campaign ("Summer Sale 2024"), by platform ("Instagram Stories"), or even by content type ("Product Shots," "Testimonials"). Whatever you choose, stick with it.
Then, agree on a consistent naming convention. Something simple like Campaign-Purpose-Version-Date.png (e.g., SummerSale24-InstaStory-V1-July15.png) makes finding the right asset completely foolproof. This little bit of organisation upfront saves countless hours down the road and ensures anyone on the team can grab what they need in seconds. Your visuals will always be sharp, on-brand, and ready to go.
Jumping into AI for your creative work can feel like learning a new language, so it's only natural to have a few questions. It’s a completely different way of thinking about design for most of us. Let's tackle some of the most common queries that pop up when people start making photo frame templates with these new tools.
Getting these things cleared up from the start will help you dodge common pitfalls and get you into a confident creative groove much faster.
We’ve all seen it: the AI-generated image that just feels a bit too perfect, a bit soulless. The secret to avoiding that is all in the detail you feed it.
Instead of just asking for a "gold frame," get really specific. Think like an art director. Try a prompt like, "an art deco frame with muted gold and teal accents, featuring intricate geometric patterns." See the difference? That level of detail gives the AI a much clearer picture to work from, leading to a far more unique result.
But here’s the real pro tip: never treat the first AI output as the finished article. Think of it as a brilliant, incredibly fast first draft. Your creative eye and human touch are what will take it from good to truly special.
A few things I always do:
It's this blend of AI's speed and your own design sense that produces photo frames templates that genuinely reflect a brand's unique identity.
Brand consistency is non-negotiable. The most effective way I've found to manage this with AI is to create a "master style guide" specifically for your prompts. This becomes your team's bible, the single source of truth for your brand's visual DNA.
Your guide should be super practical and include things like:
Before anyone on your team generates a new frame, they check the guide. It’s that simple. Many AI design platforms, like Canva, also have a 'Brand Kit' feature. Use it! You can pre-load your colours, logos, and fonts, making it dead simple to apply your branding to new designs in a couple of clicks.
Remember, consistency isn’t about making everything look identical. It’s about making sure every piece of creative feels like it comes from the same family. A solid prompt guide is your secret weapon for getting this right.
Absolutely. In fact, you definitely should. Using subtle, consistent frames for your product photos across your e-commerce site or social media is a fantastic way to build brand recognition and make your digital storefront look polished and professional.
For product photography, less is almost always more. You want a template that elevates the product, not one that shouts over it. A simple, thin border in a brand colour or a tastefully placed watermark can look incredibly slick.
This is where the batch-processing features we talked about earlier are a lifesaver. You can design one or two minimalist templates and then apply them to your entire product catalogue in minutes, instantly creating a cohesive, high-end look.
Ready to create stunning, on-brand visuals without the usual creative grind? With Instastock, you can generate unique, high-quality images and templates you fully own—no licenses, no restrictions. Describe what you need, refine it with simple instructions, and watch your ideas come to life in seconds. Start creating for free at Instastock.studio.
Learn how to design a poster for sales that actually drives results. Get practical tips on design, copywriting, and strategy using Instastock.
Master how to crop image in illustrator with simple steps, masks, artboards, and Pathfinder tips for clean, precise results.
Learn how to create a flawless bricks texture seamless design using AI. Our friendly guide has actionable tips for realistic, tileable patterns.